Adding Stores
Note: There are three ways to add a store:
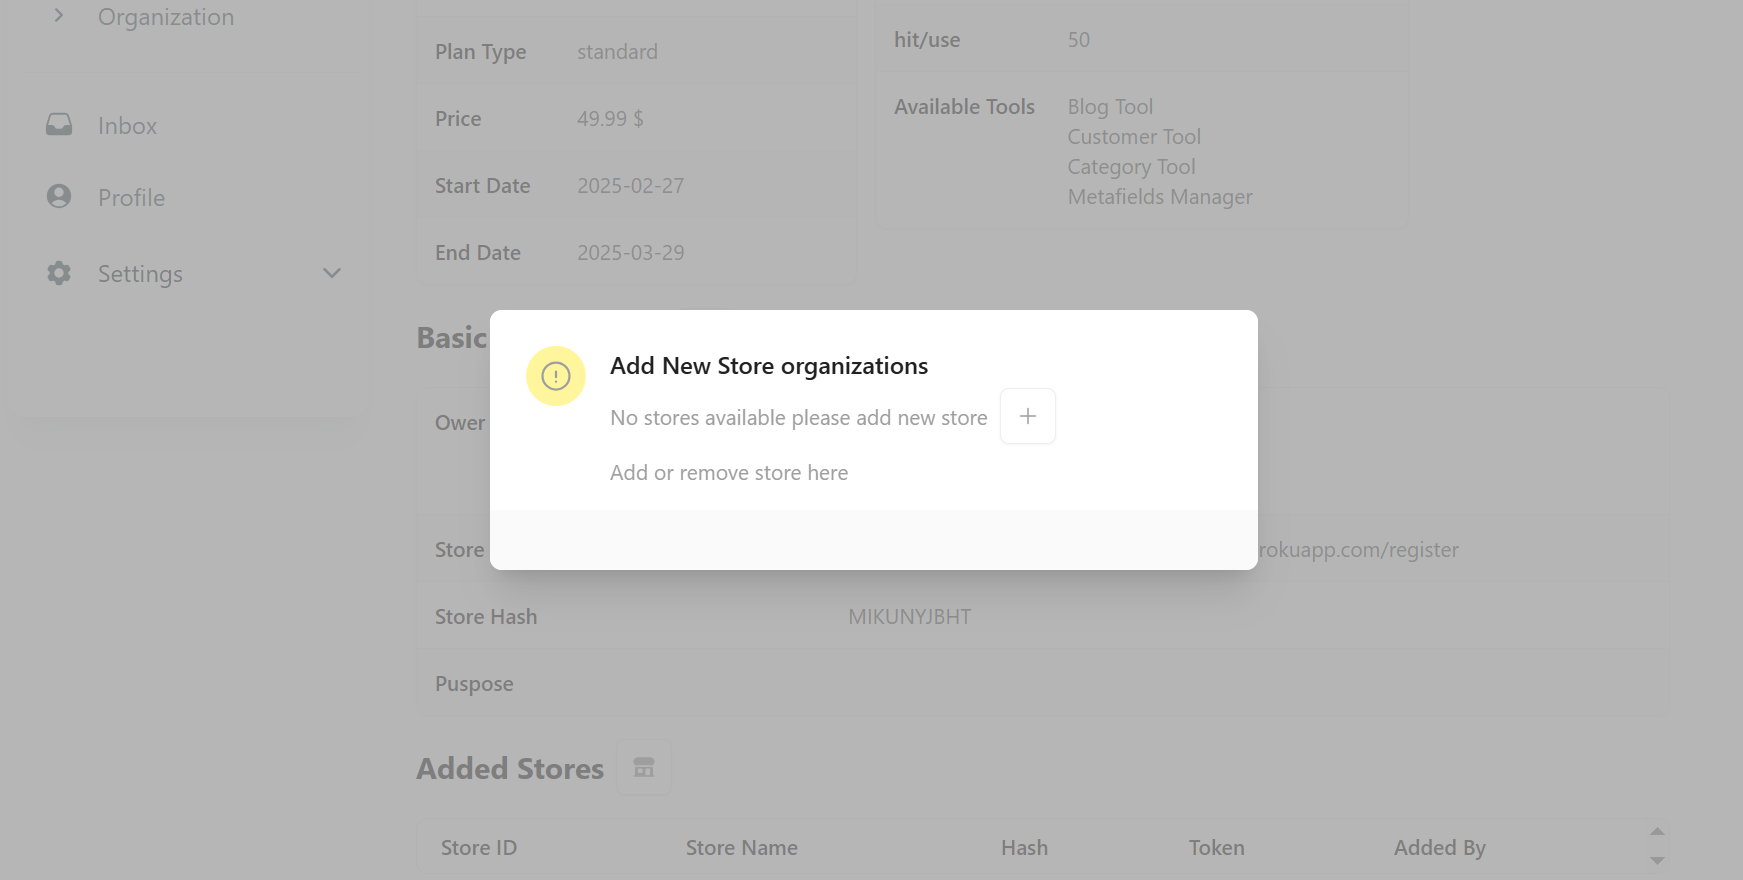
Method 1: Using the Plus (+) Button
- Locate the Plus (+) button near the notification icon.
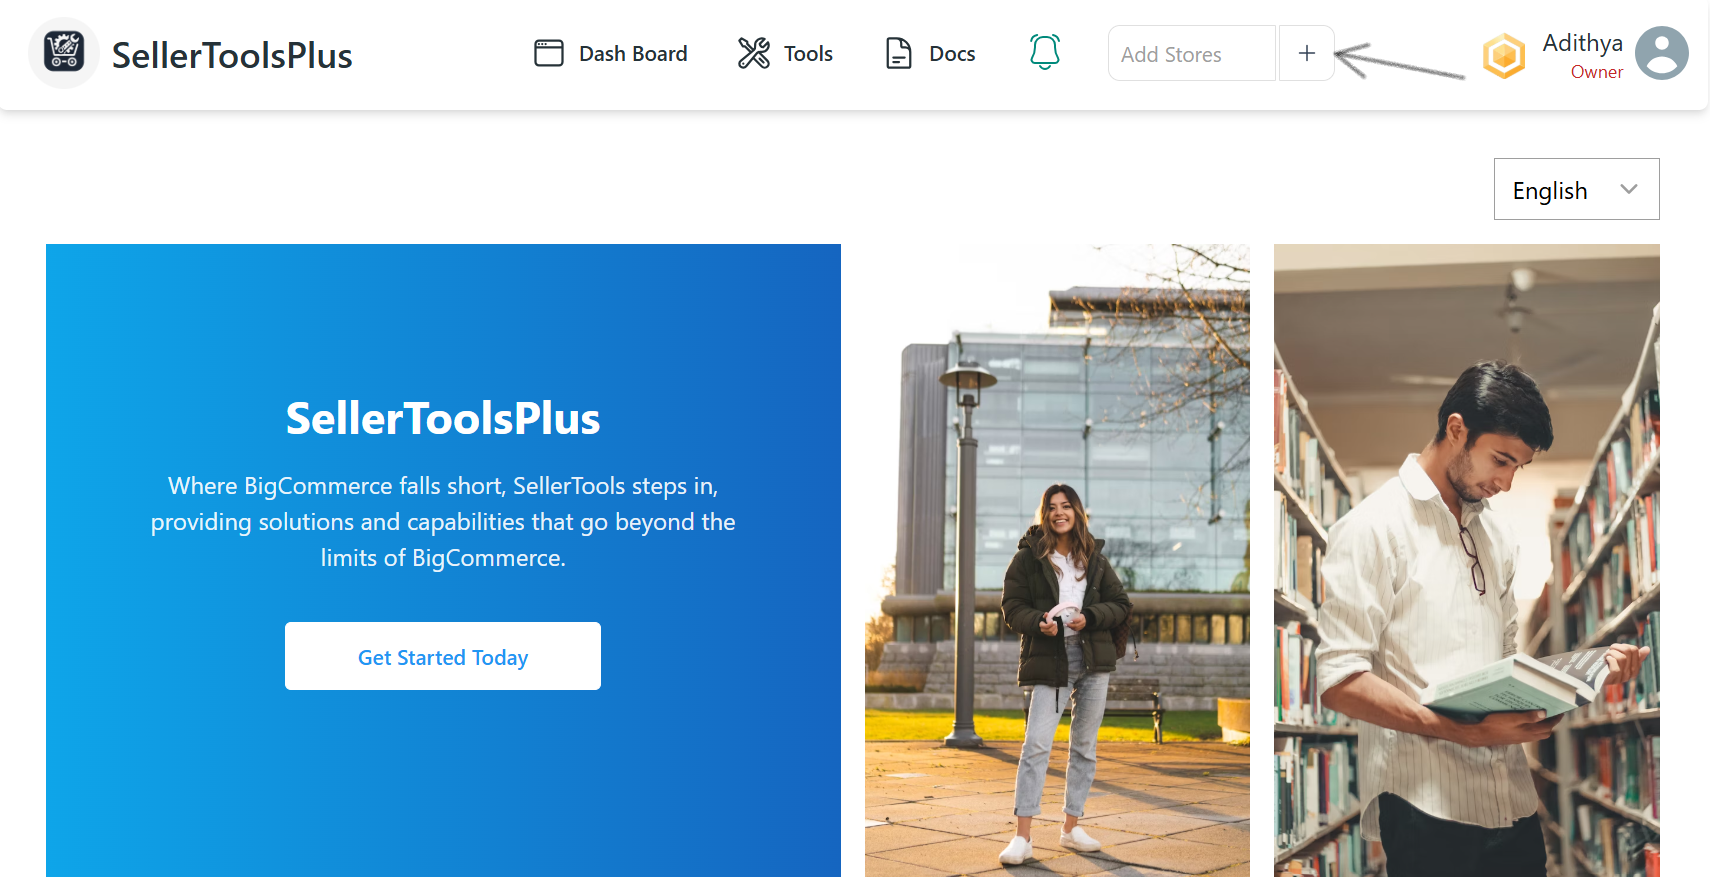
- Click on the Plus (+) button to open the "Add Store" page, a pop-up window (modal) will appear.
- Fill in the required details:
- Store Name
- Hash
- Token
- Click the Add Store button.
- Click the Continue button to proceed.
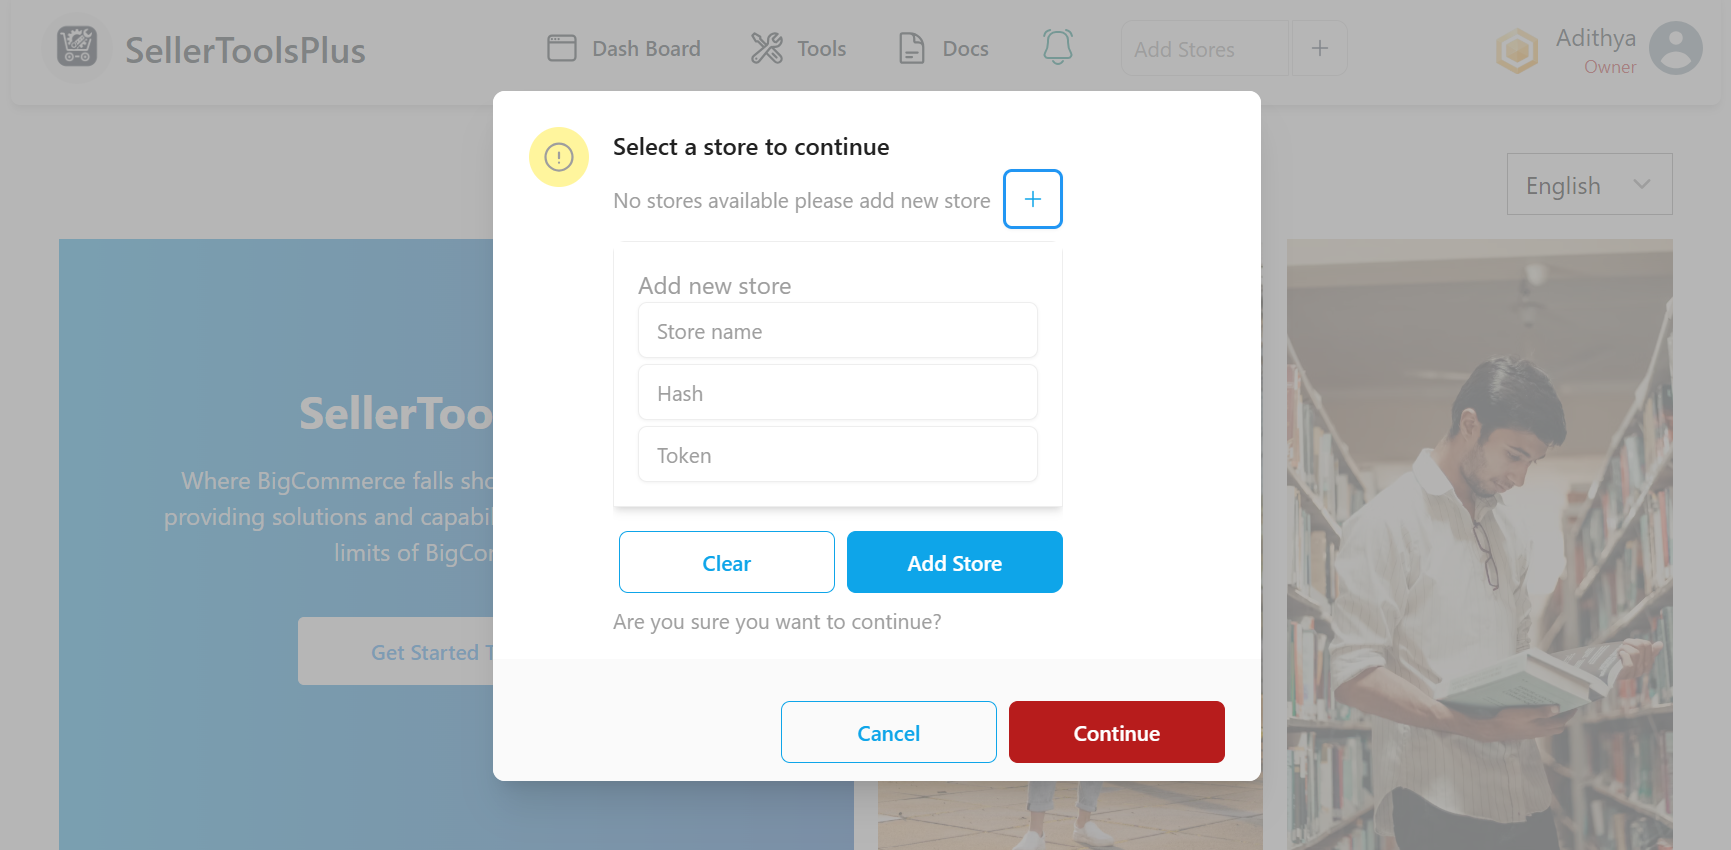
Tip: If you make a mistake while filling the form, use the Clear button to reset the fields.
Additional Actions
- Edit Store: An option is available to modify store details.
- Delete Store: An option is available to remove a store.
Method 2: Adding a Store via Tools
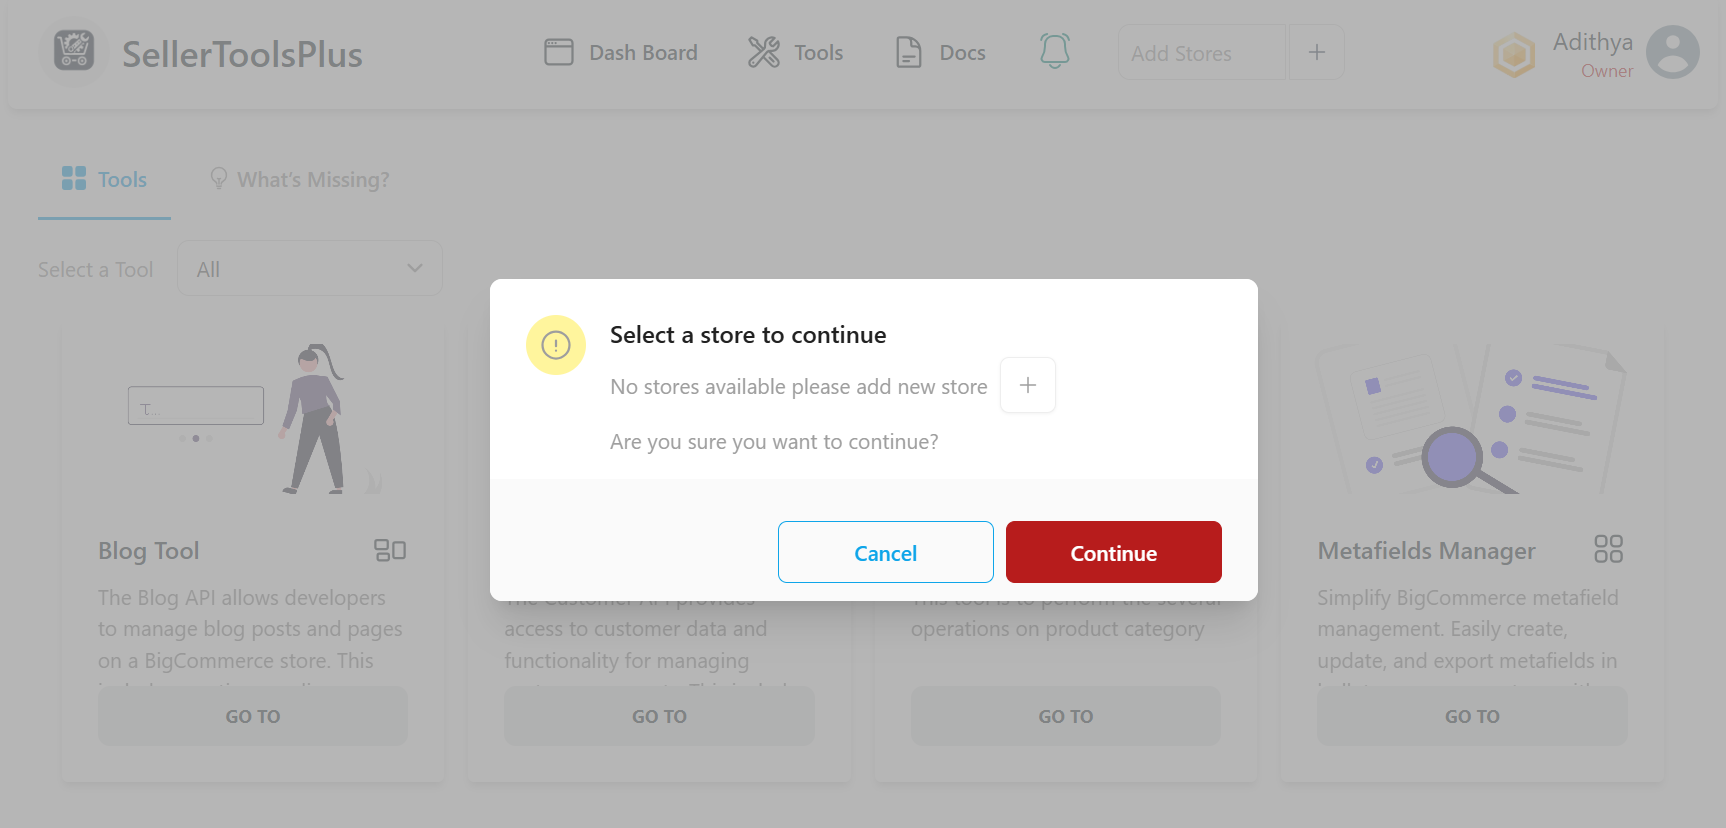
- When you select or click on any tool, you will be prompted to add a store.
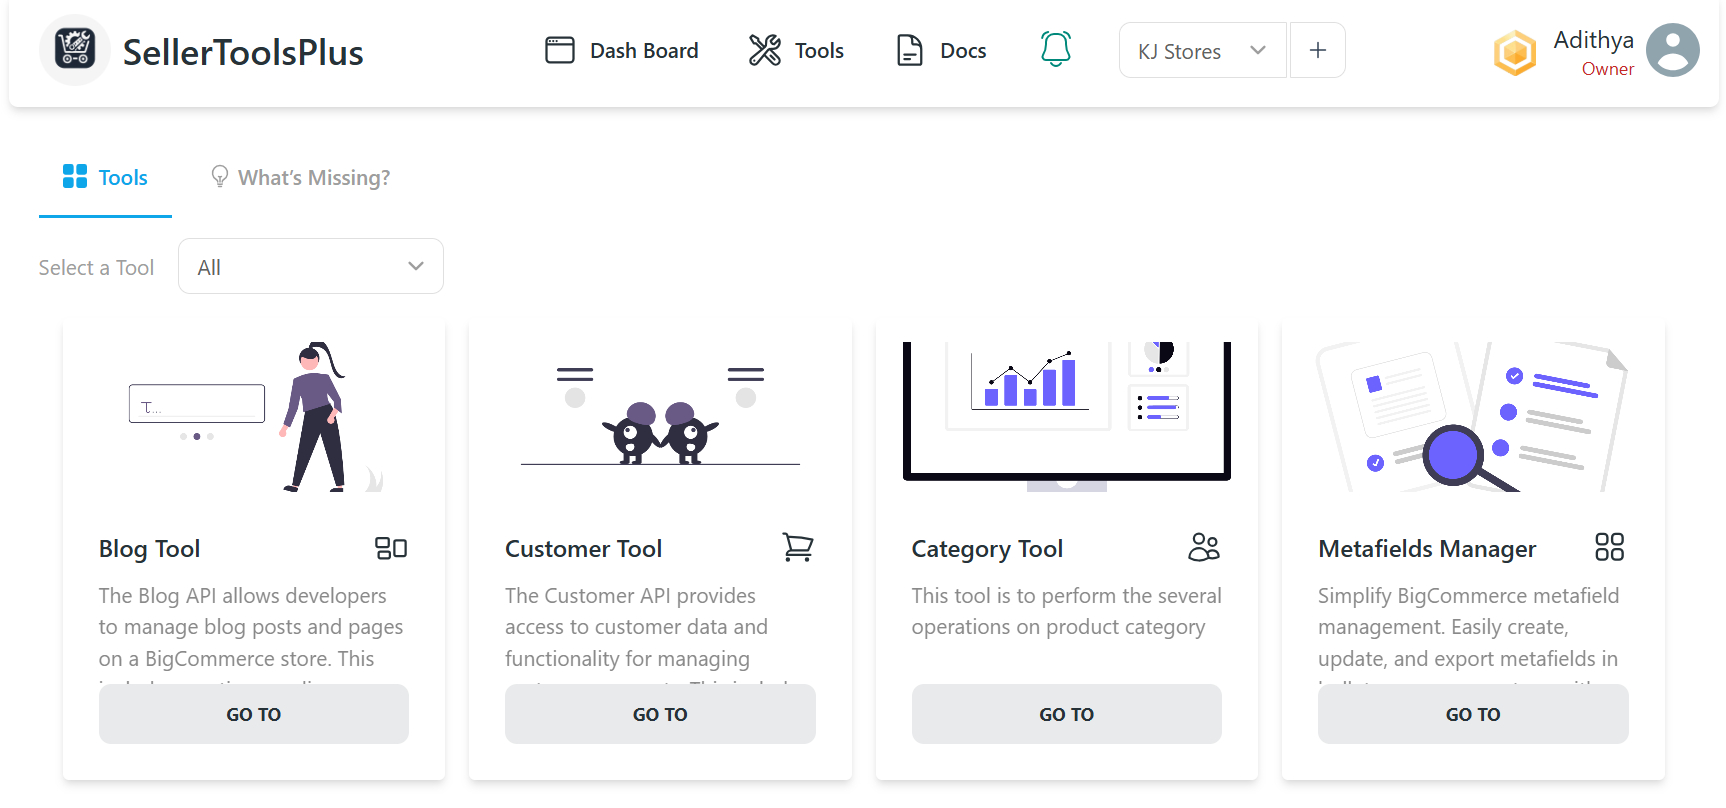 2. Follow the same process as mentioned in Method 1 to fill in the details and proceed.
Method 3: Adding a Store via Account Section
- Go to the Account section.

- Locate the Organization section.
- Scroll down to find the Added Store list.
- Beside the Added Store heading, click on the Add Store Icon.
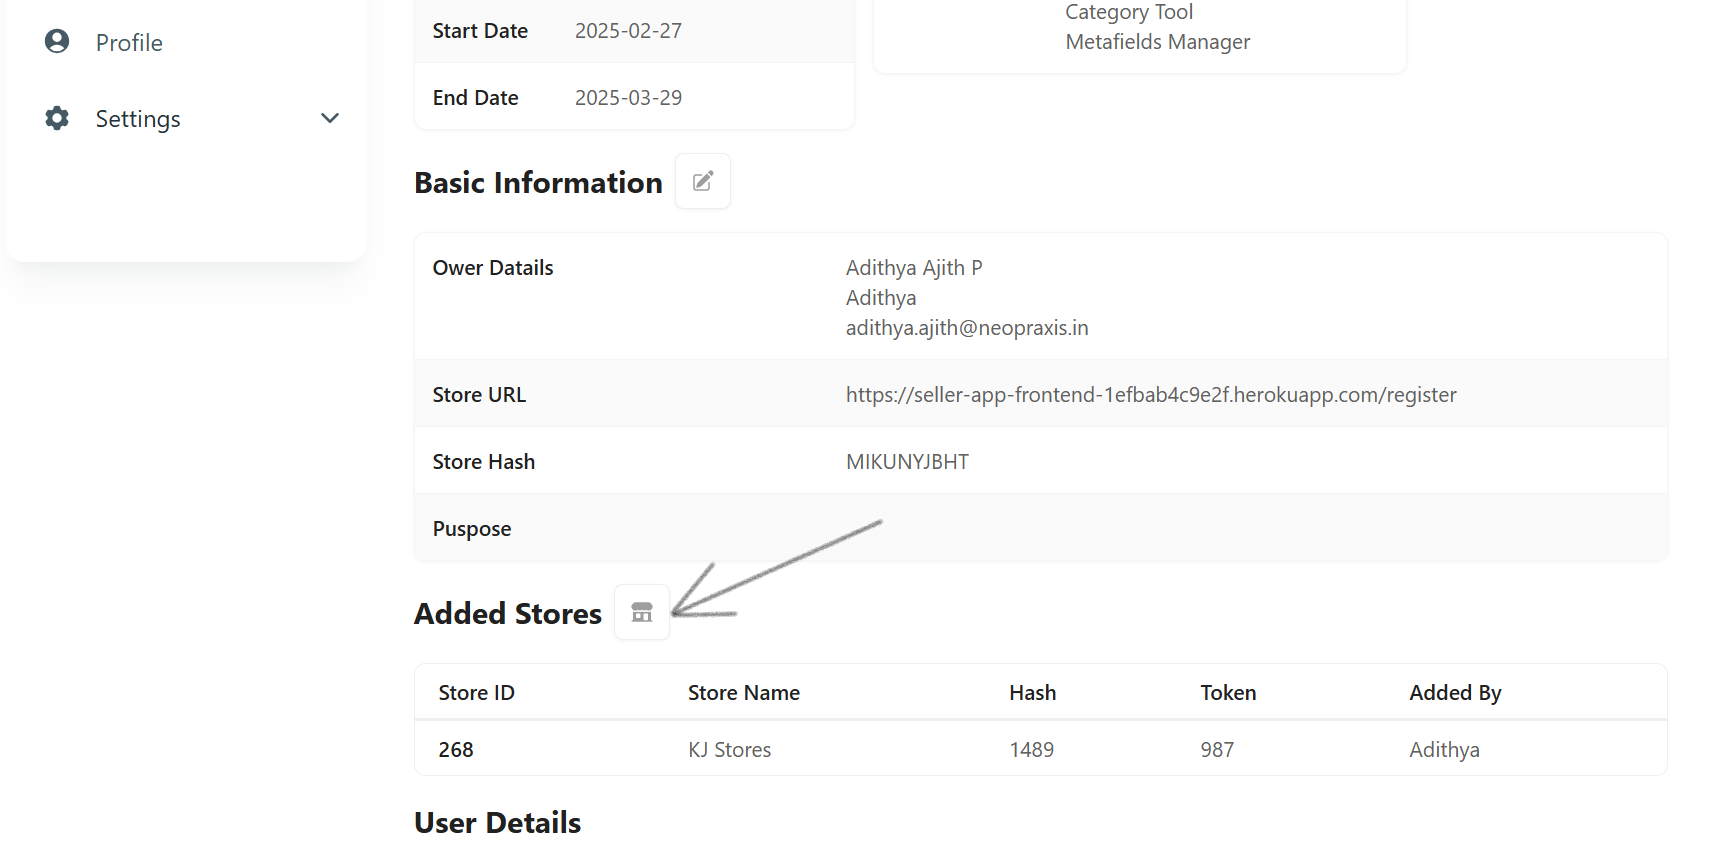
- Follow the same steps as described in Method 1 to complete the process.
Sharing Stores with your team
By default, a store added by user is accessible only to that particular user for security reasons, however, the store will be automatically available for the organization Account owner.
Organization account owner can then create a team with an Admin and members and assign store access to the team from the same add store menu by accessing the Add Stote-> Assign store submenu